Wednesday 27 August 2014

Multi-Layered Boxes

I wanted to explore a bit and do things other than WarHammer and D&D Terrain.  I designed and cut this box.    Each side has 3 layers, 2 of which are cut with patterns.   So you can see one pattern behind the other one.


I made each side of the box different, just to try different patterns.


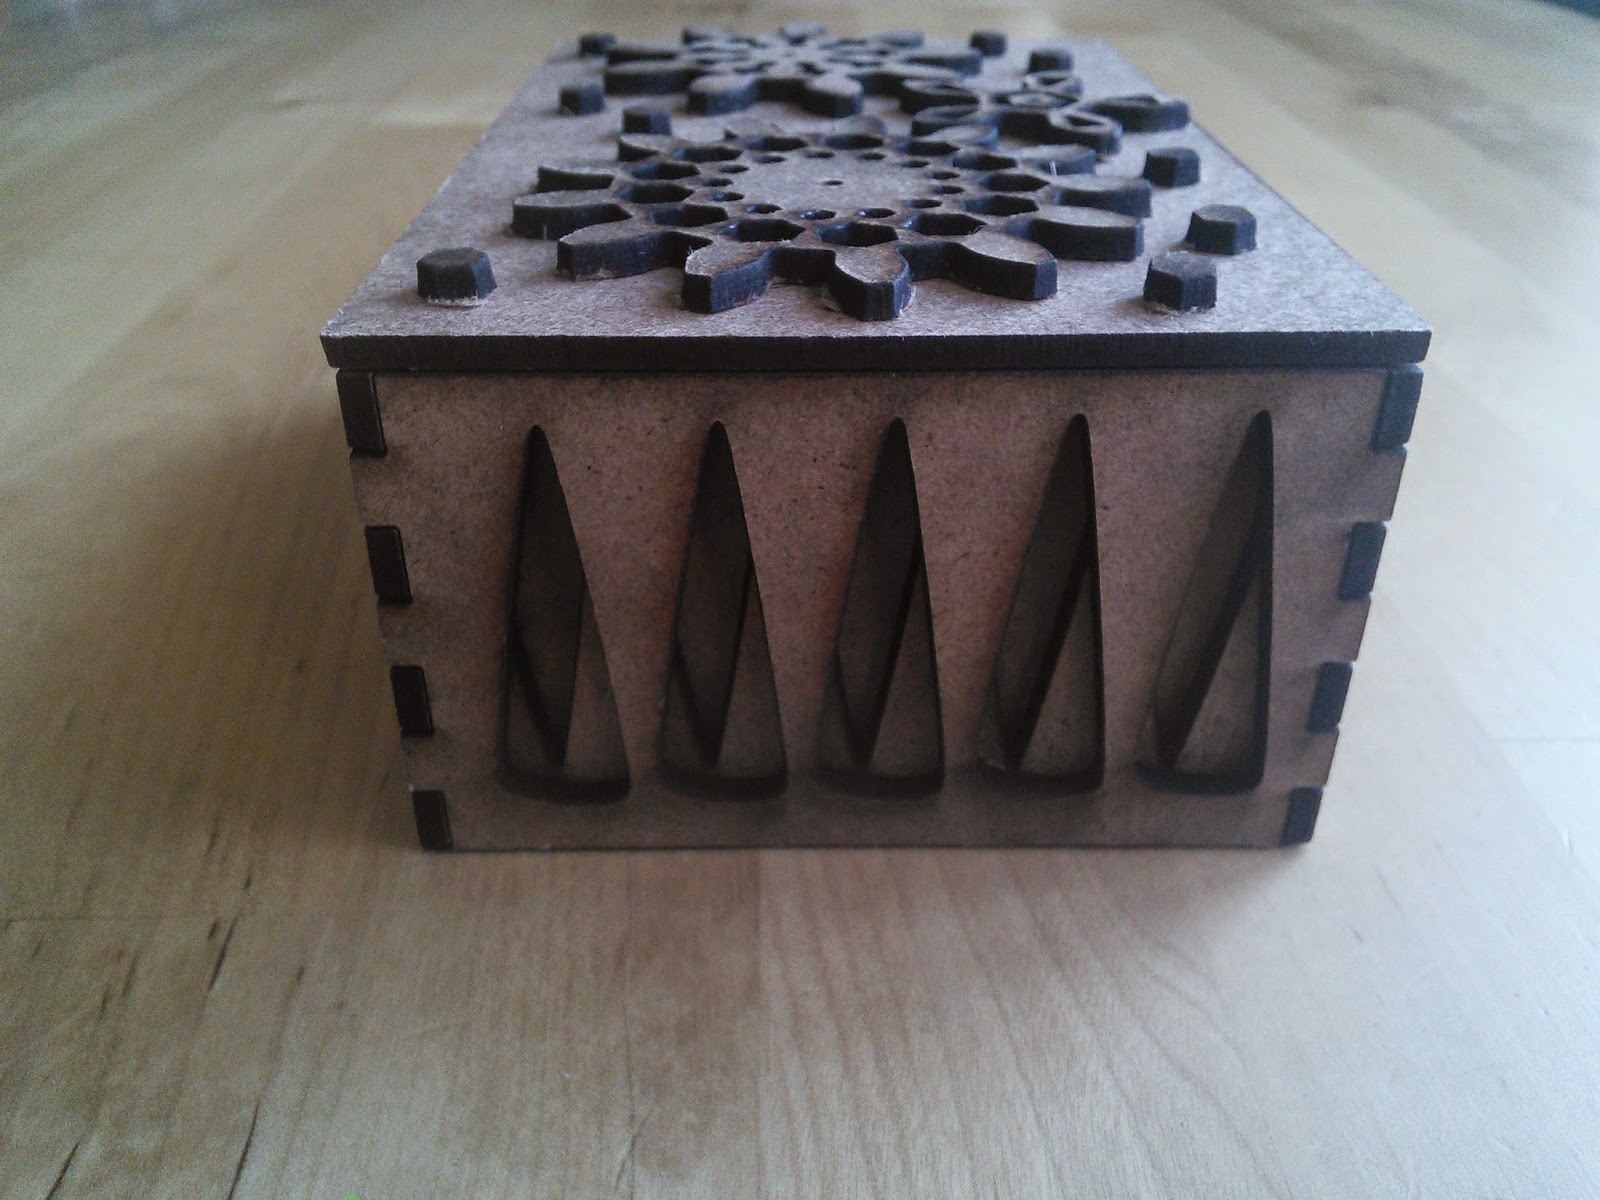
I also cut some gears, to see how they would work with each other.  I found that they did not have the right size and ratio to work well together, so they don't work very well as gears.  But my daughter thought they were really nice and we glued them to the top of the box with a few other bits.  She calls them snowflakes.


I'll be doing more stuff with gears later.   This was a good "learning opportunity", and I kind of like how the different side look together.


Monday 25 August 2014

The Laser-Cut Skyshield Landing Pad

Here it is, the final laser-cut "Skyshield Landing Pad" replica, in all it's glory.

With the battlements down:


 With the battlements up:

Side and under views:


The little "hatches" actually open on the top:


Landing Pad Legs

Here are the legs for the landing pad in SketchUp:


And here is the full model with the legs, top and bottom view:


Once I have it all modeled in SketchUp, one of the big challenges is converting that to a file I can actually cut using the laser cutter.  

What I usually do is "flatten" each component in SketchUp, and then place them on a flat surface that is the size of one sheet that I can cut (12" x 24").   In this case, I ended up with three sheets (one of which would be cut in thicker material for the inlay):


Once I have this in SketchUp, I save it as a PDF and then import it into InkScape, where I can change the line thicknesses, make some adjustments and re-save it as a PDF for printing (cutting).


Tuesday 19 August 2014

Modeling the Landing Pad

I started modeling the Landing Pad in SketchUp.

I started with the battlements:


I then moved on to the landing pad itself.   You can see from the side view that all the elements are raised from the base by 1/16".  I'm hoping this works out once I cut them.

I also made it so the battlements can be inserted on the top or on the side of the base.  (The actual War Hammer one are on hinges so they can be raised or lowered).


I'm working on the legs next.

Monday 18 August 2014

Next Challenge

Now that I've created the Basilica Thingamabobber, I need to figure out what to do next.   I want to create some nice boxes.  But first, my son would like me to create another War Hammer scenery item.

I think the next simplest would be the Skyshield Landing Pad.   It has angles, but most parts meet at 90 degrees, so it should not be too complex.  


I also want to try and inlay some pieces into other pieces so that some decoration looks "raised" (like the logo on the landing pad and the legs).

Stay tuned...


Friday 15 August 2014

Tuesday 12 August 2014

The Call of Cthulhu

I made another "Infinite Crypt" type of element.   This one is a fountain, call the "Chtulhu Fountain".

For this one, I created the base fountain in SketchUp.


I exported all my SketchUp drawings to a PDF and opened them in InkScape.   I then added the "Chtulhu" face to the back wall of the fountain using InkScape.   I probably could have done something in SketchUp, but I find for drawing more detailed elements that InkScape is easier to use.


I based my Chtulhu design on this "Skid-Head" image I found online.


Once I cut it and assembled it, it looked like this:


I'm going to try and add "fake" water to it once it's painted.

Basilica-Administratum Laser-Cut

My son asked me to make him some WarHammer scenery.   We looked through their scenery website, to see which ones would be easiest to start with.

We decided to do the Basilica Administratum, since all the walls meet at 90 degrees.   Here's what it looks like on their website.


My version will be slightly different.   It will have less detail, but be about the same size and shape.   I want a working door on one side and floors on which miniatures can stand at each level.

I started by designing one window in SketchUp.


I added more details to it, and then repeated it several times to make the building.  For the "crumbling" parts of the building, I removed parts of the windows.

I then designed and added the columns on each side, and then added a door, and some floors at each level.

Here's my SketchUp design for the full model.


Each side is comprised of 3 layers of 1/8 material.    I'll show the cuts and final product in later posts.


Monday 11 August 2014

From one game to another

My oldest son is starting to get into WarHammer 40K.   This game has lots of vehicles and buildings.   It's a complicated but fun game.   It's also fairly expensive to equip yourself properly.   Dad to the rescue!   My son buys the figures, but I can definitely provide some scenery for him.

Once again, I'm starting with a couple of small things.  I made him some trees, and some anti-tank spikes.


Here's a Hell Brute surrounded by the anti-tank spikes.

I'm also working on something much bigger.   

Here's a little teaser.   I'll post more about it later.


Did you hear the story about the three whales?

Did you hear the story about the three whales?....Well, well, well!
Did you hear the story about the cookie?....It's crumby.
Did you hear the story about the firetruck?....It's all over town.

Sorry, those are old jokes that pop into my head each time I hear the word "well".   I even know some in french (As tu entendus l'histoire de l'assiette?...Elle est plate).

My son told me that every good village in minecraft needs a well.  So I thought maybe it would be true in other settings.   So my next project was little wells.


I made a large one, and then just shrank the center and re-used the strut and roof design to make a smaller one.


Stacking and Painting

I made some more elements.  They are round columns.  

I made them by stacking 16 cut slices on top of each, with a center rod to align them all.  I assumed that 16 x 1/8" would give me 2" tall columns.


But, in actuality, they are about 1/16th off from 2" (I guess they are not that precise when saying that the material is 1/8" thick).   Which is not bad if you are using them on their own, but could cause a problem if you use them with a bunch of other elements that are all exactly 2" tall.   So I probably won't be doing that method again.


I also painted them to try different paints.  I used the following paints:


The one on the left is unpainted.  The two others have Rust-Oleum Primer first, then the one in middle got a blast of the Accents Stone paint.   The one on the right got a few spritz of the Satin Fossil paint.

I prefer the Satin Fossil one, it seems to have more shadows on it, although they are both nice.


Sunday 10 August 2014

Bookcases...nuff said.

For all your library needs.

You can use all your cutoffs from other projects to make books and interesting items.

Saturday 9 August 2014

A bridge too far

Miniature men, women and monsters often need to get across gaps and rivers and gorges and lava flows and a myriad of other gap based obstacles.  What better way than with bridges.

These elements are a bit of departure from the Infinite Crypt elements.   Their dimensions are similar, and they can be used with those elements, but they don't have the same "look and feel".   They're still fun.

I made 2 kinds of bridges.  I use the blocks I previously made as pillars.  They can also span other things.


They can combine to make a longer spans.  


A Crack in the Wall

My next element is a "Cracked Wall".  You can put this wall among other walls, and it looks almost like a normal wall, with a bit of a crack in it (one side has a small crack, the other has a bigger crack).


But once someone notices it, you can take it apart and reveal a passage through the wall.   Or you can use both sections to make some ruins.